开篇词
该指南将引导你插件连接到 MySQL 数据库的 Spring 应用(这与大多数其他指南和许多示例应用使用的内存中嵌入式数据库相反)。它使用 Spring Data JPA 访问数据库,但这只是许多可能的选择之一(例如,我们可以使用普通的 Spring JDBC)。
你将创建的应用
我们将创建一个 MySQL 数据库,构建一个 Spring 应用,并将其连接到新创建的数据库。
MySQL 使用的是 GPL 许可,因此随它分发的任何二进制文件也必须使用 GPL。参见 GNU 通用公共许可证。
你将需要的工具
- 大概 15 分钟左右;
- 你最喜欢的文本编辑器或集成开发环境(IDE)
- JDK 1.8 或更高版本;
- Gradle 4+ 或 Maven 3.2+
- 你还可以将代码直接导入到 IDE 中:
- Spring Too Suite (STS)
- IntelliJ IDEA
如何完成这个指南
像大多数的 Spring 入门指南一样,你可以从头开始并完成每个步骤,也可以绕过你已经熟悉的基本设置步骤。如论哪种方式,你最终都有可以工作的代码。
- 要从头开始,移步至从 Spring Initializr 开始;
- 要跳过基础,执行以下操作:
- 下载并解压缩该指南将用到的源代码,或借助 Git 来对其进行克隆操作:
git clone https://github.com/spring-guides/gs-accessing-data-mysql.git - 切换至
gs-accessing-data-mysql/initial目录; - 跳转至该指南的创建数据库。
- 下载并解压缩该指南将用到的源代码,或借助 Git 来对其进行克隆操作:
待一切就绪后,可以检查一下 gs-accessing-data-mysql/complete 目录中的代码。
从 Spring Initializr 开始
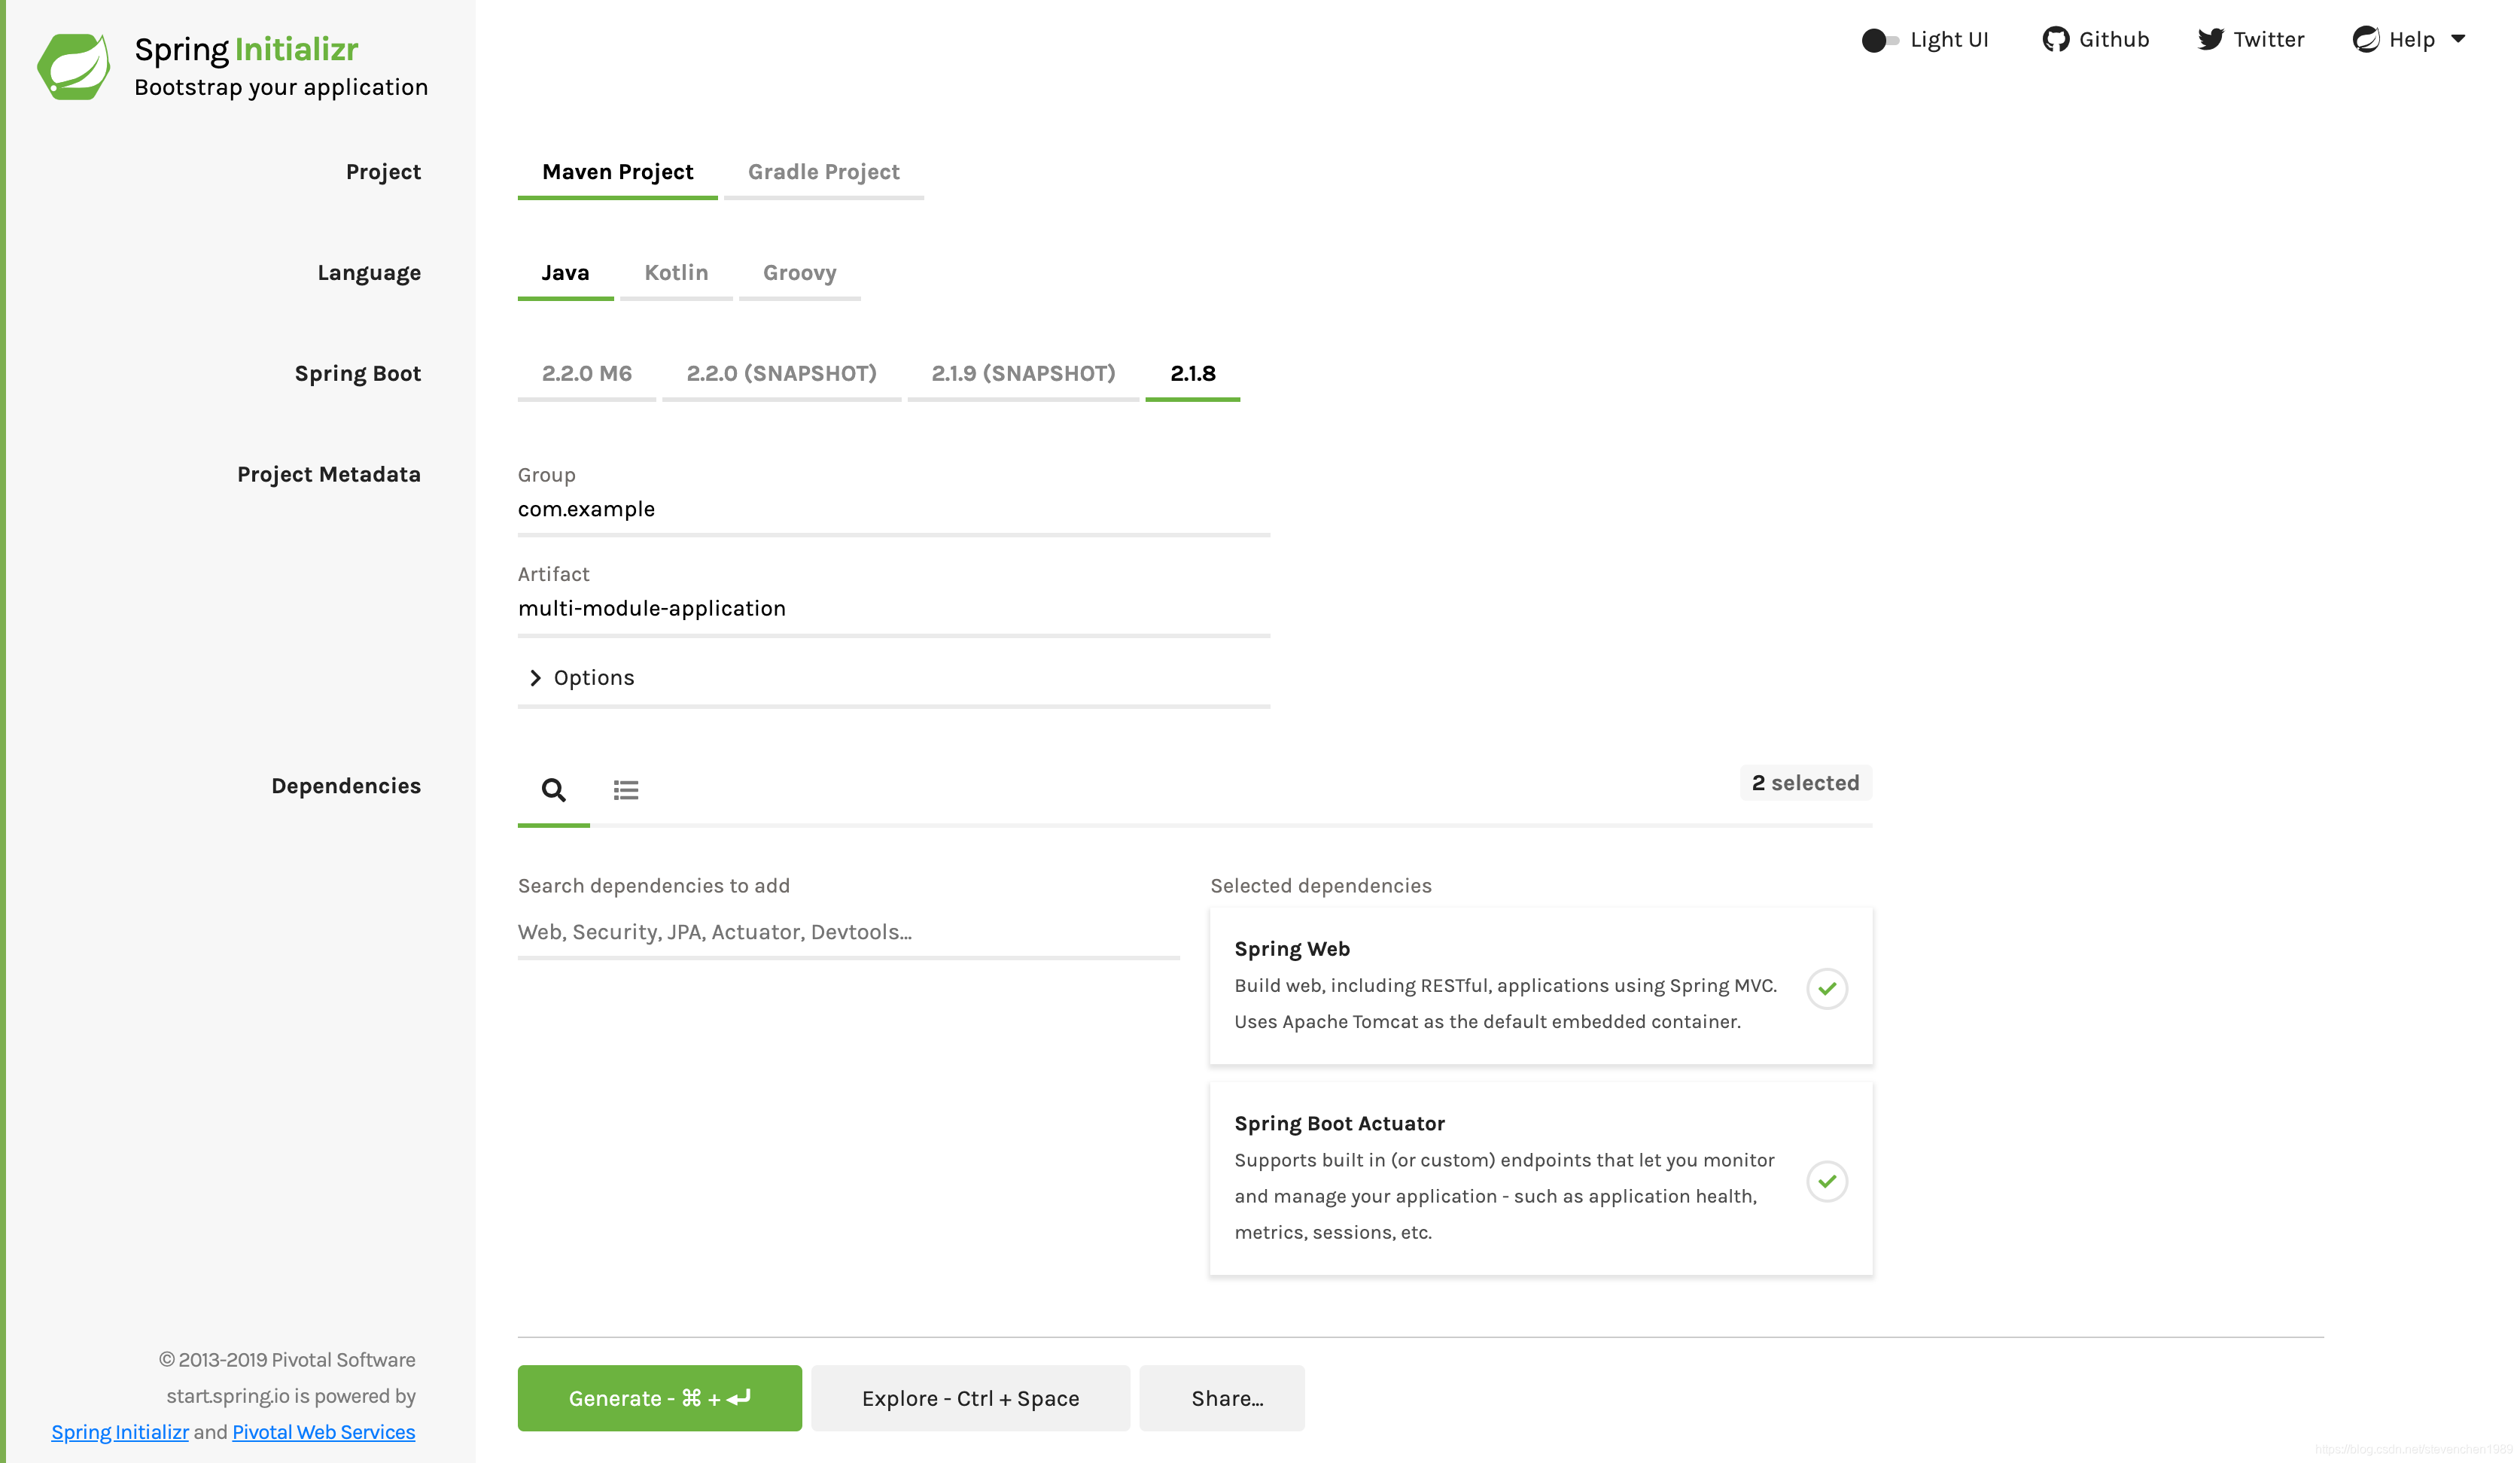
对于所有的 Spring 应用来说,你应该从 Spring Initializr 开始。Initializr 提供了一种快速的方法来提取应用程序所需的依赖,并为你完成许多设置。该示例需要 Spring Web Starter、Spring Data JPA 及 MySQL Driver 依赖。下图显示了此示例项目的 Initializr 设置:
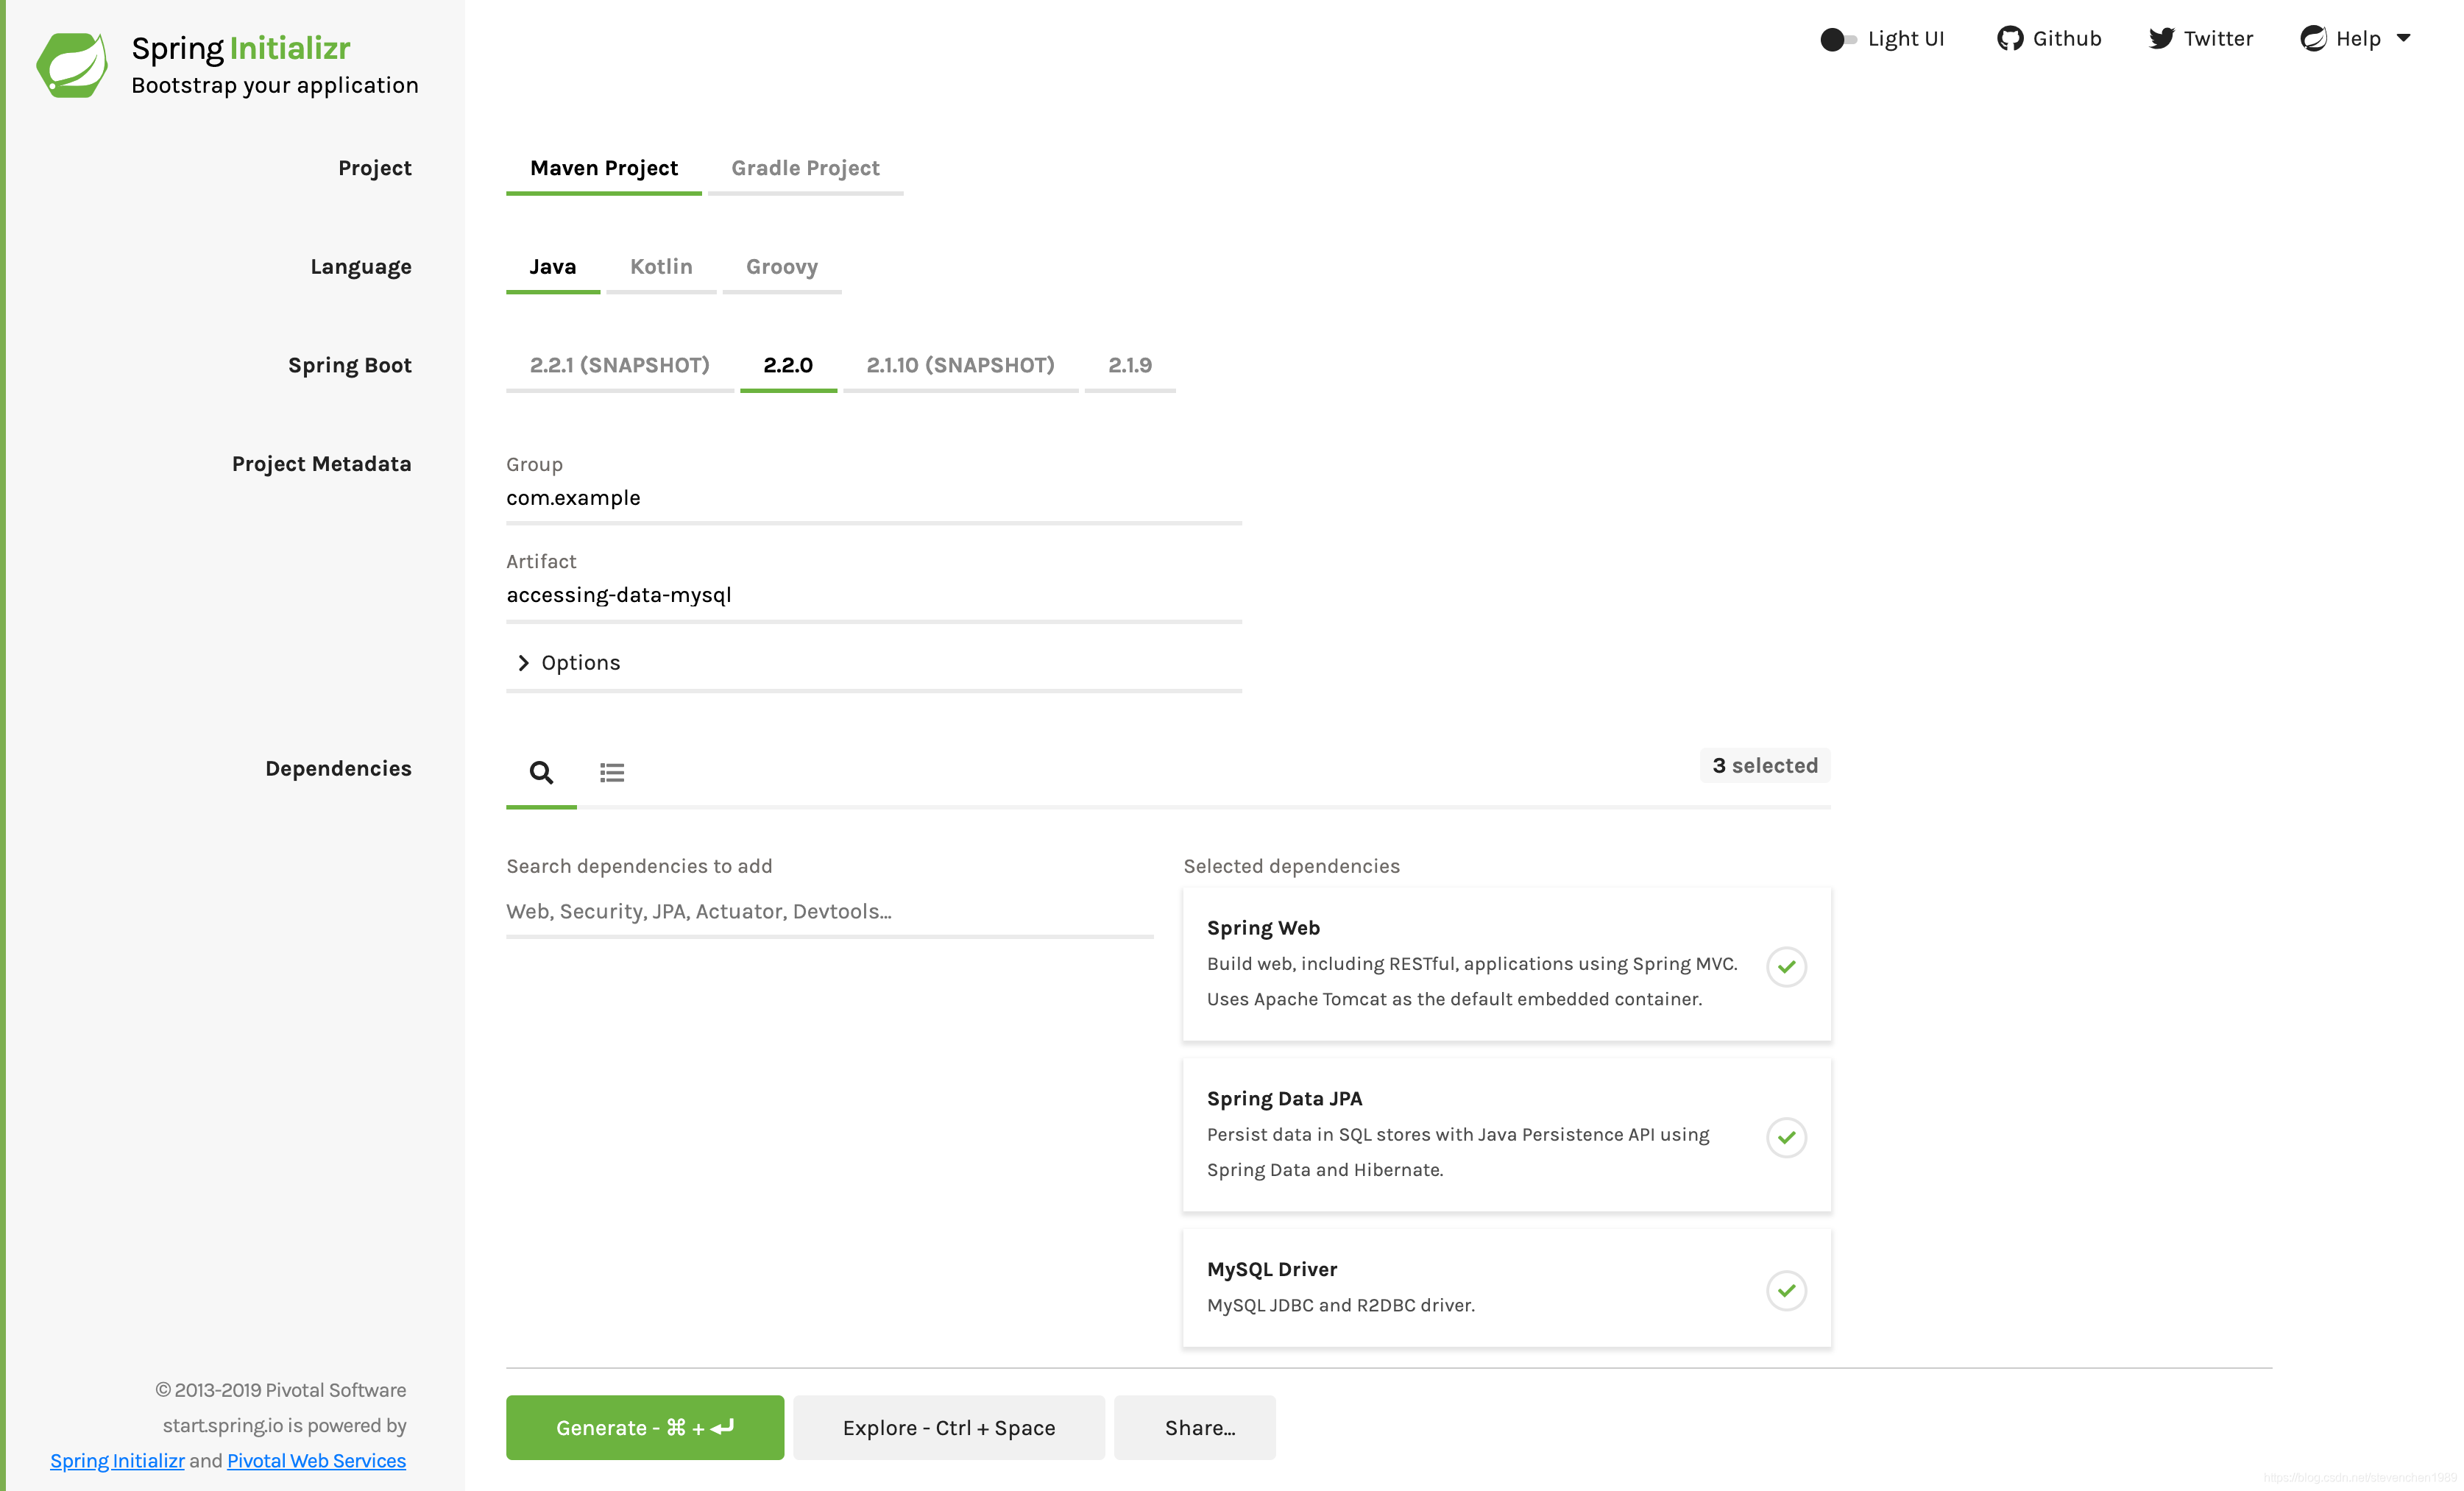
上图显示了选择 Maven 作为构建工具的 Initializr。你也可以使用 Gradle。它还将
com.example和accessing-data-mysql的值分别显示为 Group 和 Artifact。在本示例的其余部分,将用到这些值。
以下清单显示了选择 Maven 时创建的 pom.xml 文件:
<?xml version="1.0" encoding="UTF-8"?>
<project xmlns="http://maven.apache.org/POM/4.0.0" xmlns:xsi="http://www.w3.org/2001/XMLSchema-instance"
	xsi:schemaLocation="http://maven.apache.org/POM/4.0.0 https://maven.apache.org/xsd/maven-4.0.0.xsd">
	<modelVersion>4.0.0</modelVersion>
	<parent>
		<groupId>org.springframework.boot</groupId>
		<artifactId>spring-boot-starter-parent</artifactId>
		<version>2.2.2.RELEASE</version>
		<relativePath/> <!-- lookup parent from repository -->
	</parent>
	<groupId>com.example</groupId>
	<artifactId>accessing-data-mysql</artifactId>
	<version>0.0.1-SNAPSHOT</version>
	<name>accessing-data-mysql</name>
	<description>Demo project for Spring Boot</description>

	<properties>
		<java.version>1.8</java.version>
	</properties>

	<dependencies>
		<dependency>
			<groupId>org.springframework.boot</groupId>
			<artifactId>spring-boot-starter-data-jpa</artifactId>
		</dependency>
		<dependency>
			<groupId>org.springframework.boot</groupId>
			<artifactId>spring-boot-starter-web</artifactId>
		</dependency>

		<dependency>
			<groupId>mysql</groupId>
			<artifactId>mysql-connector-java</artifactId>
			<scope>runtime</scope>
		</dependency>
		<dependency>
			<groupId>org.springframework.boot</groupId>
			<artifactId>spring-boot-starter-test</artifactId>
			<scope>test</scope>
			<exclusions>
				<exclusion>
					<groupId>org.junit.vintage</groupId>
					<artifactId>junit-vintage-engine</artifactId>
				</exclusion>
			</exclusions>
		</dependency>
	</dependencies>

	<build>
		<plugins>
			<plugin>
				<groupId>org.springframework.boot</groupId>
				<artifactId>spring-boot-maven-plugin</artifactId>
			</plugin>
		</plugins>
	</build>

</project>
以下清单显示了在选择 Gradle 时创建的 build.gradle 文件:
plugins {
	id 'org.springframework.boot' version '2.2.2.RELEASE'
	id 'io.spring.dependency-management' version '1.0.8.RELEASE'
	id 'java'
}

group = 'com.example'
version = '0.0.1-SNAPSHOT'
sourceCompatibility = '1.8'

repositories {
	mavenCentral()
}

dependencies {
	implementation 'org.springframework.boot:spring-boot-starter-data-jpa'
	implementation 'org.springframework.boot:spring-boot-starter-web'
	runtimeOnly 'mysql:mysql-connector-java'
	testImplementation('org.springframework.boot:spring-boot-starter-test') {
		exclude group: 'org.junit.vintage', module: 'junit-vintage-engine'
	}
}

test {
	useJUnitPlatform()
}
创建数据库
打开终端(在 Microsoft Windows 中为命令提示符),然后以可以创建新用户的用户身份打开 MySQL 客户端。
例如,在 Linux 系统上,使用以下命令:
sudo mysql --password
它以
root身份连接到 MySQL,并允许所有主机访问用户。这不是生产服务器的推荐方法。
要创建新数据库,请在 mysql 提示符下运行以下命令:
create database db_example; -- Creates the new database
create user 'springuser'@'%' identified by 'ThePassword'; -- Creates the user
grant all on db_example.* to 'springuser'@'%'; -- Gives all privileges to the new user on the newly created database
创建 application.properties 文件
Spring Boot 为我们提供所有默认设置。例如,默认数据库为 H2。因此,当我们要使用任何其他数据库时,必须在 application.properties 文件中定义连接属性。
创建一个名为 src/main/resources/application.properties 的资源文件,如下清单所示:
spring.jpa.hibernate.ddl-auto=update
spring.datasource.url=jdbc:mysql://${MYSQL_HOST:localhost}:3306/db_example
spring.datasource.username=springuser
spring.datasource.password=ThePassword
在这里,spring.jpa.hibernate.ddl-auto 可以为 none、update、create 或 create-drop。有关详细信息,请参见 Hibernate 文档。
none:MySQL默认值。数据库结构未做任何更改;update:Hibernate 根据给定的实体结构更改数据库;create:每次创建数据库,但不会在关闭时将其删除;create-drop:创建数据库,并在SessionFactory关闭时将其删除。
我们必须先 create 或 update,因为我们还没有数据库结构。第一次运行后,我们可以根据程序要求将其切换为 update 或 none。当我们相对数据库结构进行一些更改时,请使用 update。
H2 和其他嵌入式数据库的默认值为 create-drop。对于其他数据库,例如 MySQL,默认值为 none。
在数据库处于生产状态后,将其设置为
none,撤销连接到 Spring 应用的 MySQL 用户的所有权限,并仅向 MySQL 用户提供SELECT、UPDATE、INSERT和DELETE,这是一种良好的安全实践。我们可以在该指南的末尾了解更多信息。
创建 @Entity 模型
我们需要创建实体模型。如以下清单(在 src/main/java/com/example/accessingdatamysql/User.java 中)所示:
package com.example.accessingdatamysql;

import javax.persistence.Entity;
import javax.persistence.GeneratedValue;
import javax.persistence.GenerationType;
import javax.persistence.Id;

@Entity // This tells Hibernate to make a table out of this class
public class User {
  @Id
  @GeneratedValue(strategy=GenerationType.AUTO)
  private Integer id;

  private String name;

  private String email;

  public Integer getId() {
    return id;
  }

  public void setId(Integer id) {
    this.id = id;
  }

  public String getName() {
    return name;
  }

  public void setName(String name) {
    this.name = name;
  }

  public String getEmail() {
    return email;
  }

  public void setEmail(String email) {
    this.email = email;
  }
}
Hibernate 自动将实体转换成表。
创建存储库
我们需要创建存储用户记录的存储库,如以下清单(在 src/main/java/com/example/accessingdatamysql/UserRepository.java 中)所示:
package com.example.accessingdatamysql;

import org.springframework.data.repository.CrudRepository;

import com.example.accessingdatamysql.User;

// This will be AUTO IMPLEMENTED by Spring into a Bean called userRepository
// CRUD refers Create, Read, Update, Delete

public interface UserRepository extends CrudRepository<User, Integer> {

}
Spring 在具有相同名称的 Bean 中自动实现该存储库接口(大小写有所变化,称为 userRepository)。
创建控制器
我们需要创建一个控制器来处理对应用的 HTTP 请求,如以下清单(在 src/main/java/com/example/accessingdatamysql/MainController.java 中)所示:
package com.example.accessingdatamysql;

import org.springframework.beans.factory.annotation.Autowired;
import org.springframework.stereotype.Controller;
import org.springframework.web.bind.annotation.GetMapping;
import org.springframework.web.bind.annotation.PostMapping;
import org.springframework.web.bind.annotation.RequestMapping;
import org.springframework.web.bind.annotation.RequestParam;
import org.springframework.web.bind.annotation.ResponseBody;

@Controller // This means that this class is a Controller
@RequestMapping(path="/demo") // This means URL's start with /demo (after Application path)
public class MainController {
  @Autowired // This means to get the bean called userRepository
         // Which is auto-generated by Spring, we will use it to handle the data
  private UserRepository userRepository;

  @PostMapping(path="/add") // Map ONLY POST Requests
  public @ResponseBody String addNewUser (@RequestParam String name
      , @RequestParam String email) {
    // @ResponseBody means the returned String is the response, not a view name
    // @RequestParam means it is a parameter from the GET or POST request

    User n = new User();
    n.setName(name);
    n.setEmail(email);
    userRepository.save(n);
    return "Saved";
  }

  @GetMapping(path="/all")
  public @ResponseBody Iterable<User> getAllUsers() {
    // This returns a JSON or XML with the users
    return userRepository.findAll();
  }
}
前面的示例为两个端点显式指定了
POST和GET。默认情况下,@RequestMapping映射所有 HTTP 操作。
创建应用类
Spring Initializr 为应用创建一个简单的类。以下清单显示了 Initializr 为该示例创建的类(在 src/main/java/com/example/accessingdatamysql/AccessingDataMysqlApplication.java 中):
package com.example.accessingdatamysql;

import org.springframework.boot.SpringApplication;
import org.springframework.boot.autoconfigure.SpringBootApplication;

@SpringBootApplication
public class AccessingDataMysqlApplication {

  public static void main(String[] args) {
    SpringApplication.run(AccessingDataMysqlApplication.class, args);
  }

}
对于该示例,我们无需修改 AccessingDataMysqlApplication 类。
@SpringBootApplication 是一个便利的注解,它添加了以下所有内容:
@Configuration:将类标注为应用上下文 Bean 定义的源;@EnableAutoConfiguration:告诉 Spring Boot 根据类路径配置、其他 bean 以及各种属性的配置来添加 bean。@ComponentScan:告知 Spring 在com/example包中寻找他组件、配置以及服务。
main() 方法使用 Spring Boot 的 SpringApplication.run() 方法启动应用。
构建可执行 JAR
我们可以结合 Gradle 或 Maven 来从命令行运行该应用。我们还可以构建一个包含所有必须依赖项、类以及资源的可执行 JAR 文件,然后运行该文件。在整个开发生命周期中,跨环境等等情况下,构建可执行 JAR 可以轻松地将服务作为应用进行发布、版本化以及部署。
如果使用 Gradle,则可以借助 ./gradlew bootRun 来运行应用。或通过借助 ./gradlew build 来构建 JAR 文件,然后运行 JAR 文件,如下所示:
java -jar build/libs/gs-accessing-data-mysql-0.1.0.jar
由官网提供的以上这条命令的执行结果与我本地的不一样,我需要这样才能运行:
java -jar build/libs/accessing-data-mysql-0.0.1-SNAPSHOT.jar。
如果使用 Maven,则可以借助 ./mvnw spring-boot:run 来运行该用。或可以借助 ./mvnw clean package 来构建 JAR 文件,然后运行 JAR 文件,如下所示:
java -jar target/gs-accessing-data-mysql-0.1.0.jar
由官网提供的以上这条命令的执行结果与我本地的不一样,我需要这样才能运行:
java -jar target/accessing-data-mysql-0.0.1-SNAPSHOT.jar。
我们还可以将 JAR 应用转换成 WAR 应用。
运行应用时将显示日志记录输出。该服务应在几秒内启动并运行。
测试应用
现在该应用正在运行,我们可以使用 curl 或其他类似工具对其进行测试。我们可以测试两个 HTTP 端点:
GET localhost:8080/demo/all:获取所有数据。POST localhost:8080/demo/add:将一个用户添加到数据中。
以下 curl 命令添加一个用户:
curl localhost:8080/demo/add -d name=First -d email=someemail@someemailprovider.com
响应应该如下:
Saved
以下命令显示所有用户:
curl 'localhost:8080/demo/all'
响应应该如下:
[{"id":1,"name":"First","email":"someemail@someemailprovider.com"}]
做一些安全改动
在生产环境中,我们可能会遭受 SQL 注入攻击。黑客可能会注入 DROP TABLE 或任何其他破坏性的 SQL 命令。因此,作为安全实践,我们应该对用户公开应用之前对数据库进行一些更改。
在 MySQL 命令行输入以下命令撤销与 Spring 应用相关联用户的所有权限:
revoke all on db_example.* from 'springuser'@'%';
现在,Spring 应用无法在数据库中执行任何操作。
该应用必须具有某些权限,因此请使用以下命令来授予该应用所需的最低权限:
grant select, insert, delete, update on db_example.* to 'springuser'@'%';
删除所有权限并授予一些权限将使我们的 Spring 应用具有仅更改数据库数据而不更改结构(模式)所需的权限。
当我们要更改数据库时:
- 授予权限。
- 更改
spring.jpa.hibernate.ddl-auto以进行update。 - 重新运行我们的应用。
然后重复该处显示的两个命令,以确保我们的应用可以再次用于生产环境。更好的是,使用专用的迁移工具,例如 Flyway 或 Liquidbase。
概述
恭喜你!我们刚刚开发了一个绑定到 MySQL 数据库并准备投入生产的 Spring 应用!
参见
以下指南也可能会有所帮助:
- 使用 JPA 访问数据
- 使用 MongoDB 访问数据
- 使用 Gemfire 访问数据
想看指南的其他内容?请访问该指南的所属专栏:《Spring 官方指南》