os: centos7.4
postgresql:9.6.8
pgpool:3.7.3
采用 streaming replication mode 模式,这是比较通用的方案。
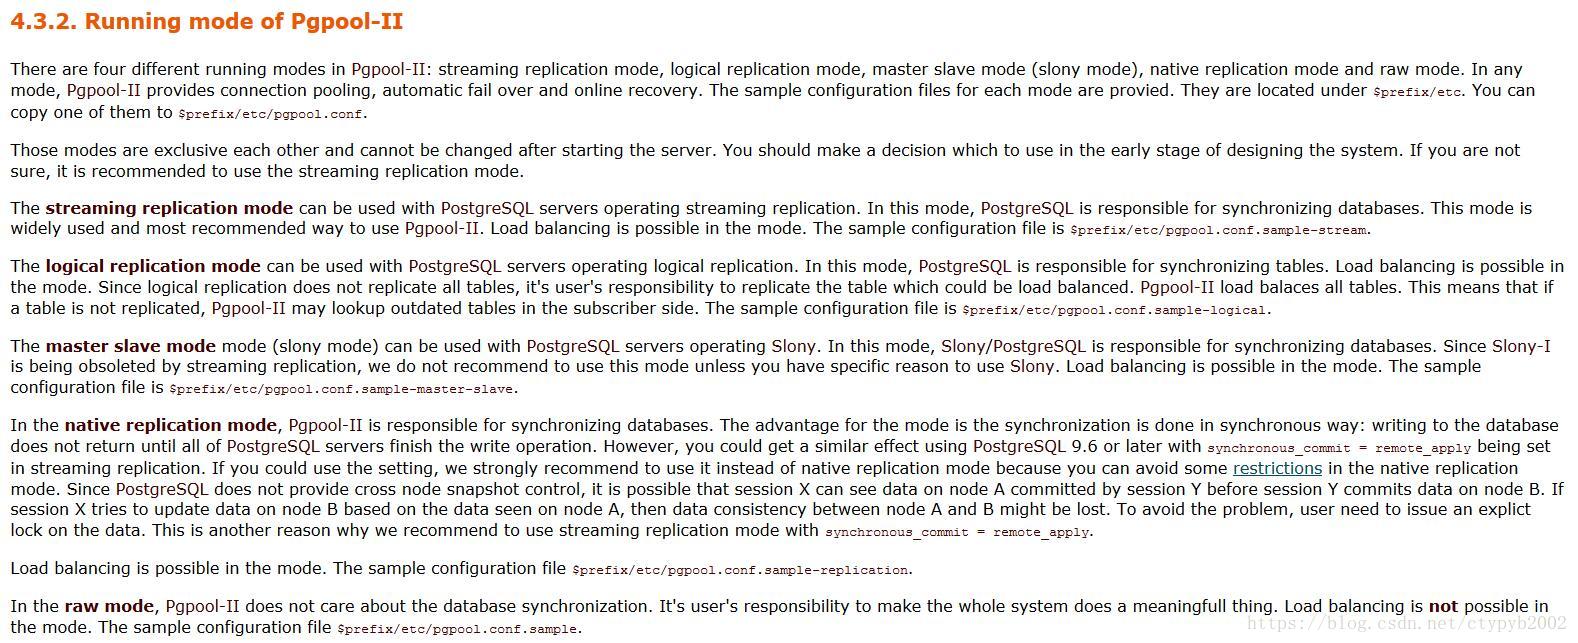
The streaming replication mode can be used with PostgreSQL servers operating streaming replication. In this mode, PostgreSQL is responsible for synchronizing databases. This mode is widely used and most recommended way to use Pgpool-II. Load balancing is possible in the mode. The sample configuration file is $prefix/etc/pgpool.conf.sample-stream.
这篇文章主要是记录 pool 管理的 postgresql slave 实例宕掉后的恢复过程.slave 所在的操作系统宕掉后,需要首先恢复操作系统.
ip 规划
pgpool    192.168.56.100

pgsql1    192.168.56.101
pgsql2    192.168.56.102
online recovery
Streaming replication mode 模式
参考<<pgpool 之十一 参数文件 pgpool.conf>>
online recovery 的步骤如下(参考:http://www.pgpool.net/docs/37/en/html/runtime-online-recovery.html)
Online recovery is performed in two phases. The first phase is called “first stage” and the second phase is called “second stage”. You need to provide scripts for each stage. Only replication_mode requires the second stage. For other modes including streaming replication mode the second stage is not performed and you don’t need to provide a script for the stage in recovery_2nd_stage_command. i.e. you can safely leave it as an empty string.
Connections from cliens are not allowd only in the second stage while the data can be updated or retrieved during the first statge.
Pgpool-II performs the follows steps in online recovery:
-
CHECKPOINT.
-
Execute first stage of online recovery.
-
Wait until all client connections have disconnected (only in replication_mode).
-
CHECKPOINT (only in replication_mode). specified).
-
Execute second stage of online recovery (only in replication_mode).
-
Start up postmaster (perform pgpool_remote_start)
-
Node attach
一定要配置 online recovery 参数,否则后面使用 pcp_recovery_node 会报如下错误
$ pcp_recovery_node -d -h 192.168.56.100 -p 9898 -U postgres -W -n 1
Password:
DEBUG: recv: tos="m", len=8
DEBUG: recv: tos="r", len=21
DEBUG: send: tos="D", len=6
DEBUG: recv: tos="E", len=95
ERROR:  node recovery failed, unable to connect to master node: 0

DEBUG: send: tos="X", len=4
pgpool的使用
pgsql1(master) 上创建用户和数据库
postgres=# create user peiyb with password 'peiybpeiyb';
CREATE ROLE
postgres=# create database peiybdb owner = peiyb;
CREATE DATABASE
连接pgpool
$ pg_md5 -h
$ pg_md5 -m -p -u peiyb
$ cat pool_passwd
peiyb:md5bd0875843854575a4b7328813ea498cb

$ psql -h 192.168.56.100 -p 9999 -d peiybdb -U peiyb
Password for user peiyb:
psql (9.6.9)
Type "help" for help.

peiybdb=>
peiybdb=> show pool_version;
     pool_version
----------------------
 3.7.3 (amefuriboshi)
(1 row)

peiybdb=> show pool_nodes;
 node_id | hostname | port | status | lb_weight |  role   | select_cnt | load_balance_node | replication_delay
---------+----------+------+--------+-----------+---------+------------+-------------------+-------------------
 0       | pgsql1   | 5432 | up     | 0.500000  | primary | 0          | false             | 0
 1       | pgsql2   | 5432 | up     | 0.500000  | standby | 0          | true              | 0
(2 rows)
关闭 pgsql2 的 slave
pgsql2的slave关闭,停1分钟,再启动
peiybdb=> show pool_nodes;
 node_id | hostname | port | status | lb_weight |  role   | select_cnt | load_balance_node | replication_delay
---------+----------+------+--------+-----------+---------+------------+-------------------+-------------------
 0       | pgsql1   | 5432 | up     | 0.500000  | primary | 8          | true              | 0
 1       | pgsql2   | 5432 | down   | 0.500000  | standby | 0          | false             | 0
(2 rows)
此时,登录pgpool能看到 pgsql2,但是 show pool_nodes 的status 依然为 down。
把pgsql1、pgsql2节点的 log_connections、log_disconnections 都设置为 on后,从日志的数据来看,pgsql2 的slave关闭再启动后,pgpool 并没有去处理。
此时需要执行 pcp_recovery_node 把备库节点的状态变为正常。
$ which pcp_recovery_node
/usr/pgpool/pgpool3.7.3/bin/pcp_recovery_node

$ pcp_recovery_node --help
pcp_recovery_node - recover a node
Usage:
pcp_recovery_node [OPTION...] [node-id]
Options:
  -U, --username=NAME    username for PCP authentication
  -h, --host=HOSTNAME    pgpool-II host
  -p, --port=PORT        PCP port number
  -w, --no-password      never prompt for password
  -W, --password         force password prompt (should happen automatically)
  -n, --node-id=NODEID   ID of a backend node
  -d, --debug            enable debug message (optional)
  -v, --verbose          output verbose messages
  -?, --help             print this help
在 slave 节点执行 pcp_recovery_node 修复
$ pcp_recovery_node -d -h 192.168.56.100 -p 9898 -U pgpool -W -n 1
Password:
DEBUG: recv: tos="m", len=8
DEBUG: recv: tos="r", len=21
DEBUG: send: tos="D", len=6
DEBUG: recv: tos="E", len=117
ERROR:  executing remote start failed with error: "ERROR:  pgpool_remote_start failed"
DEBUG: send: tos="X", len=4
分析pgsql1的日志后发现
sh: /var/lib/pgsql/9.6/data/pgpool_remote_start: No such file or directory
< 2018-05-15 14:00:29.546 CST > ERROR:  pgpool_remote_start failed
< 2018-05-15 14:00:29.546 CST > STATEMENT:  SELECT pgpool_remote_start('pgsql2', '/var/lib/pgsql/9.6/data');
说明在/var/lib/pgsql/9.6/data/下缺少 pgpool_remote_start 这个sh脚本文件
参考 pgpool 节点的模板文件
# cat /tmp/pgpool-II-3.7.3/src/sample/pgpool_remote_start
pgpool_remote_start 脚本
pgsql1、pgsql2上创建 pgpool_remote_start 脚本文件
参考<<pgpool 之七 脚本 pgpool_remote_start>>
再次执行 pcp_recovery_node
[postgres@pgpool etc]$ pcp_recovery_node -d -h 192.168.56.100 -p 9898 -U pgpool -W -n 1
Password:
DEBUG: recv: tos="m", len=8
DEBUG: recv: tos="r", len=21
DEBUG: send: tos="D", len=6
DEBUG: recv: tos="c", len=20
pcp_recovery_node -- Command Successful
DEBUG: send: tos="X", len=4
$ psql -h 192.168.56.100 -p 9999 -d peiybdb -U peiyb
peiybdb=> show pool_nodes;
 node_id | hostname | port | status | lb_weight |  role   | select_cnt | load_balance_node | replication_delay
---------+----------+------+--------+-----------+---------+------------+-------------------+-------------------
 0       | pgsql1   | 5432 | up     | 0.500000  | primary | 0          | true              | 0
 1       | pgsql2   | 5432 | up     | 0.500000  | standby | 0          | false             | 0
(2 rows)
可以看到两个节点都是up状态。
pgsql slave 手动处理
如果手动处理好 pgslq slave,查询 pg_stat_replication 的 state = streaming 状态,这时就不需要执行 pcp_recovery_node,仅需要执行 pcp_attach_node
$ pcp_attach_node  -d -h 192.168.56.100 -p 9898 -U pgpool -W -n 1
Password:
pcp_attach_node -- Command Successful
status = waiting 的处理方式
show pool_nodes 时 status 可能显示 waiting,如下:
postgres=# show pool_nodes;
 node_id | hostname | port | status  | lb_weight |  role   | select_cnt | load_balance_node | replication_delay
---------+----------+------+---------+-----------+---------+------------+-------------------+-------------------
 0       | pgsql1   | 5432 | up      | 0.500000  | primary | 0          | true              | 0
 1       | pgsql2   | 5432 | waiting | 0.500000  | standby | 0          | false             | 0
(2 rows)
这时需要重新登录一下 pgpool 即可
$ psql -h 192.168.56.100 -p 9999 -d peiybdb -U peiyb
peiybdb=> show pool_nodes;
 node_id | hostname | port | status | lb_weight |  role   | select_cnt | load_balance_node | replication_delay
---------+----------+------+--------+-----------+---------+------------+-------------------+-------------------
 0       | pgsql1   | 5432 | up     | 0.500000  | primary | 0          | true              | 0
 1       | pgsql2   | 5432 | up     | 0.500000  | standby | 0          | false             | 0
(2 rows)
参考:
http://www.pgpool.net/docs/37/en/html/runtime-online-recovery.html